Before you begin
Make sure you have:- A registered meCash Business account for your company.
- Legal and compliance documents handy (KYB form, director IDs, proof of address, BVN).
- A dedicated IP address or CIDR block for outbound traffic.
- A publicly reachable HTTPS endpoint that can receive webhook events.
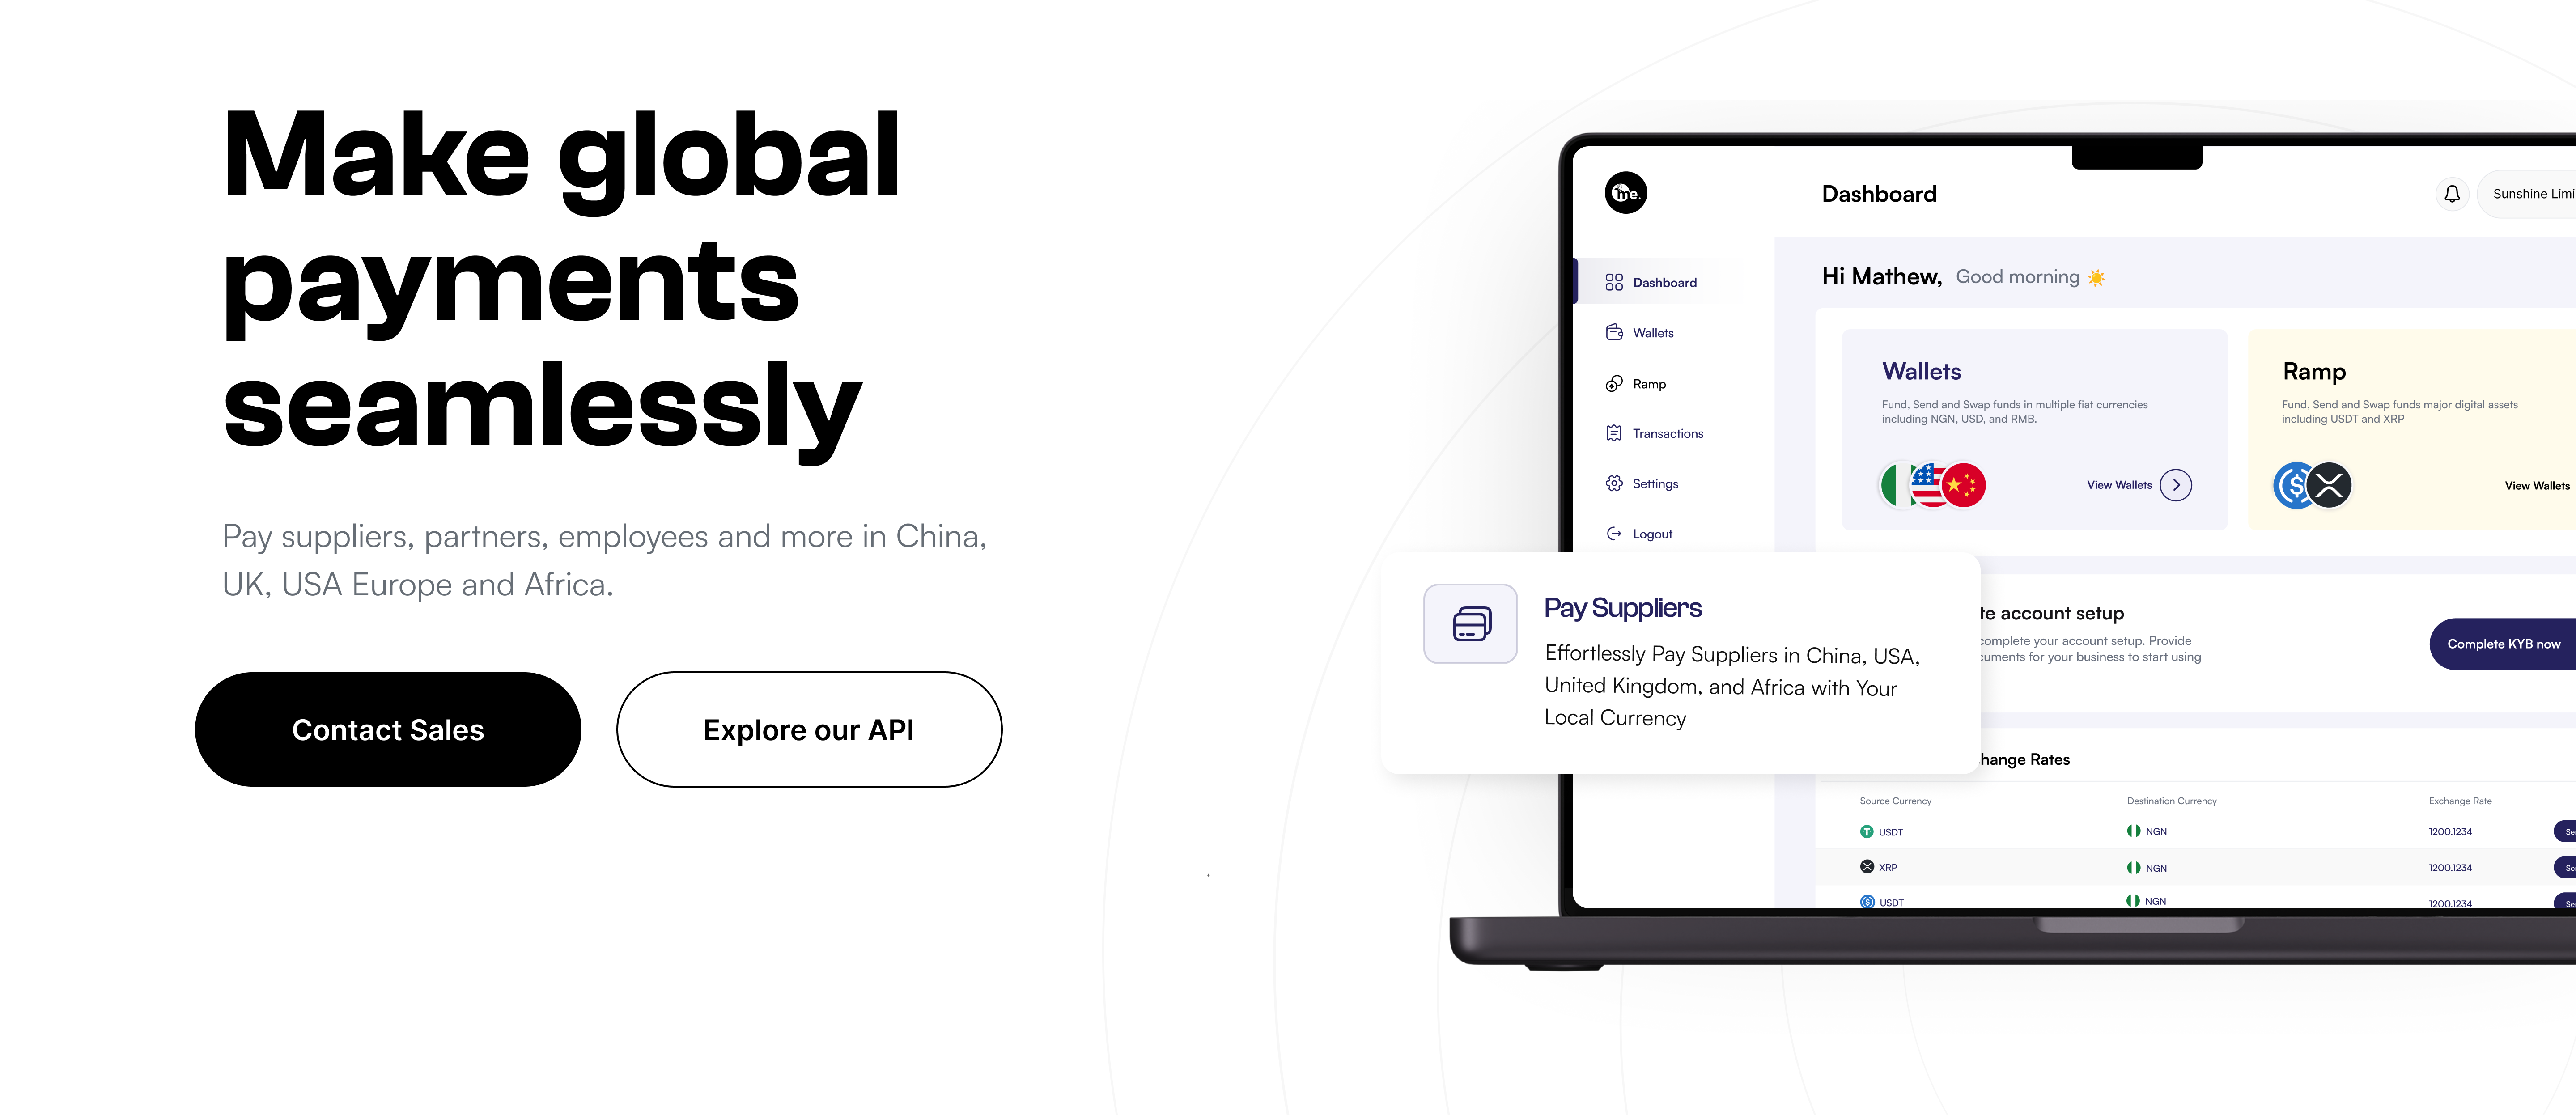
Get started with meCash API in 5 steps
Follow this quickstart guide to integrate meCash API into your application.Step 1: Create Your Account
Sign up for meCash Business
Sign up for meCash Business
- Visit meCash Business.
- Select Sign Up, complete the registration form, and set a strong password.
- Verify your email address to unlock the dashboard.
- Assign teammates under Team Management so they can collaborate.
Complete KYB Verification
Complete KYB Verification
- Fill out the KYB form in full—partial submissions delay approvals.
- Upload clear copies of:
- Business registration certificate
- Valid government-issued ID for the business director
- Recent proof of address (utility bill or bank statement)
Activate your NGN virtual account
Activate your NGN virtual account
- Provide your BVN for account verification to unlock an NGN account.
- Once approved, the account details appear under Accounts → NGN.
Step 2: Generate Your API Keys
Create a sandbox API key
Create a sandbox API key
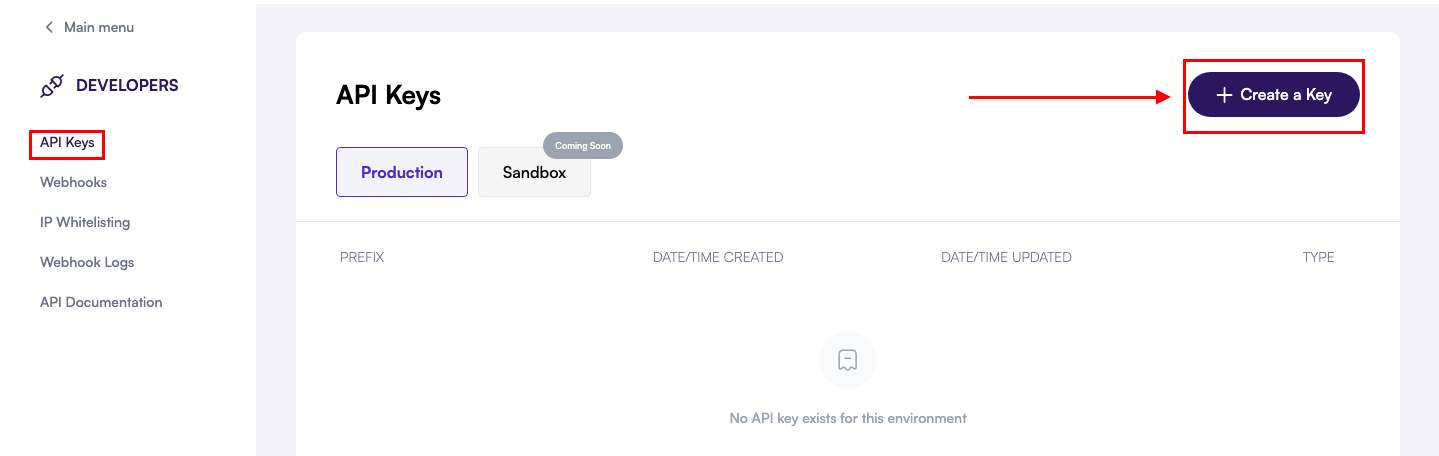
- Log in to the meCash Business dashboard.
- Open Developers → API Keys.
- Confirm the Sandbox environment is selected, then click Create a Key.
- Label the key to match your environment and copy it to your secrets manager.
Environment Setup
Environment Setup
From the dashboard you can toggle between the sandbox and production environments.
The environment URLs are:
- Production:
https://api.me-cash.com- For live transactions. - Sandbox:
https://sandboxapi.me-cash.com- For testing and development.
Request a production key after KYB approval and final testing.
Step 3: Configure Security
IP Whitelisting
IP Whitelisting

- Go to Developer section in your dashboard.
- Navigate to IP Whitelisting.
- Add your outbound server IPs or CIDR ranges.
- Save the configuration.
Step 4: Set up your webhook
Configure Your Webhook in the Dashboard
Configure Your Webhook in the Dashboard
In the Developers section of your meCash dashboard, select Webhooks from the left-hand menu to review existing endpoints and create new ones.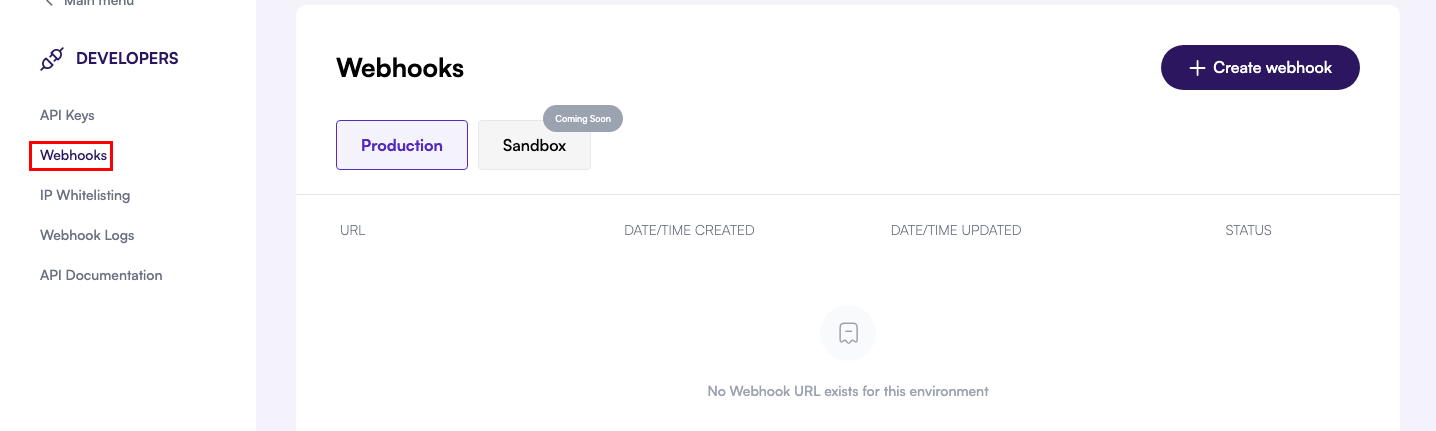
Create a new webhook
Create a new webhook
Click the Create Webhook button at the top-right corner to launch the configuration modal for a new endpoint.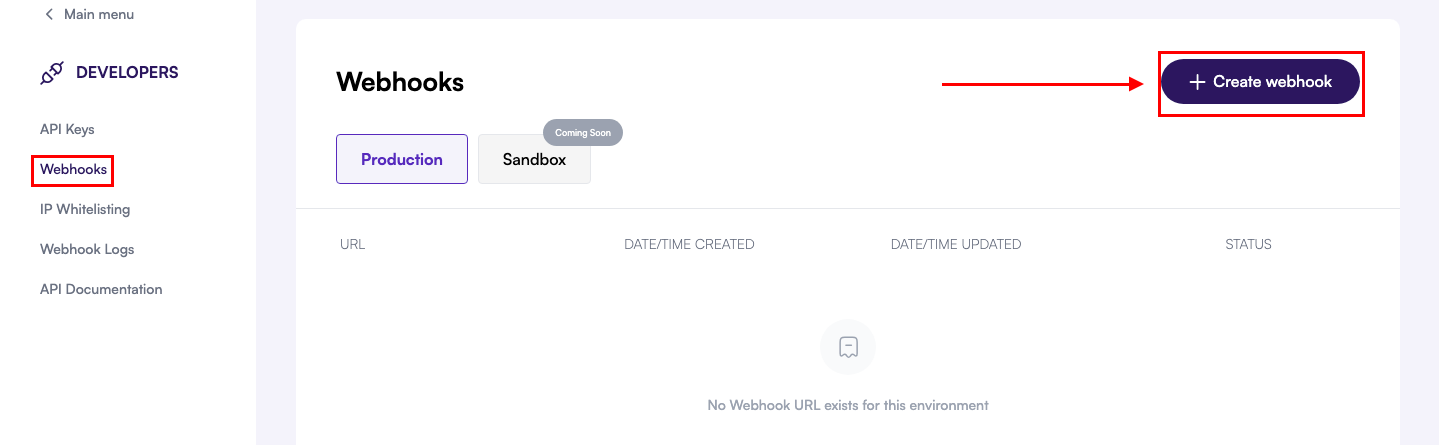
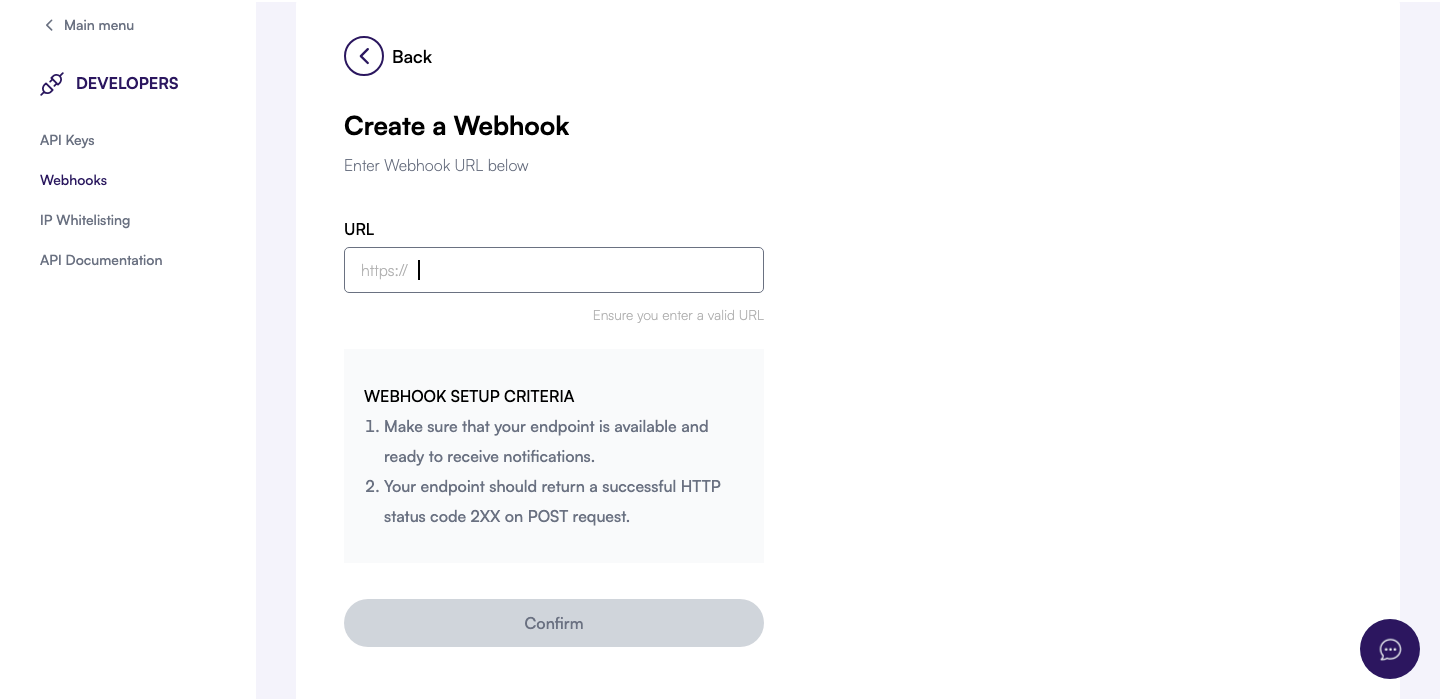
Provide your webhook URL
Provide your webhook URL
- Enter the publicly accessible URL where you want to receive webhook events.
- Ensure the endpoint accepts HTTPS POST requests and responds within 10 seconds.
- Return an HTTP 2XX status code to acknowledge receipt and prevent retries.
Confirm and monitor delivery
Confirm and monitor delivery
After clicking Confirm, your webhook appears in the list with its current status. Use the dashboard to pause, resume, rotate the signing secret, or trigger test events whenever you need a validation payload.
Step 5: Make Your First API Call
Test API Connection
Test API Connection
Start by listing wallets in the sandbox to confirm connectivity:A successful call returns a
List wallets in sandbox
200 response with your available wallets:Example response
Next steps
Now that you have basic setup complete, explore these key features:Create Quotes
Learn how to generate currency conversion quotes.
Process Payouts
Send money to bank accounts and mobile wallets.
Manage Wallets
Create and manage multi-currency wallets.
Create Virtual Account
Set up real-time transaction notifications.
Need help? Contact us at support@me-cash.com or join our Discord community.